When you want to save a hard drive on your PC then backup programs write a complete image of the memory contents on a storage medium – e.g. a second hard drive. RevPi Core however does not have a hard drive as a storage medium. An embedded multimedia card (eMMC) replaces the hard drive and permanently saves the system software and all user files. When the contents of the eMMC are overwritten or mistakenly deleted then your RevPi Core no longer has a system software and can no longer boot. You should take precautionary measures for such a case and save the complete image of the eMMC on an external storage medium. Possible mediums are the Raspberry help programmes with which you can save the image on a PC and then be in a position to transfer it from the PC to the RevPi Core.
Your RevPi Core comes with a pre-installed Image. You can however use any image of your choice.
In the following example, we show you how to go about it and how you can save your old image beforehand. We will use a PC with a Windows operating system.
You need:
Hardware
- Your PC
- Power supply unit
- Cable USB 2.0 type A plug > USB 2.0 type micro B plug
Software
Download the files/programmes below and install the programmes on your PC:
Let’s go!
- Connect the RevPi Core’s micro-USB port with a USB A port on your PC.
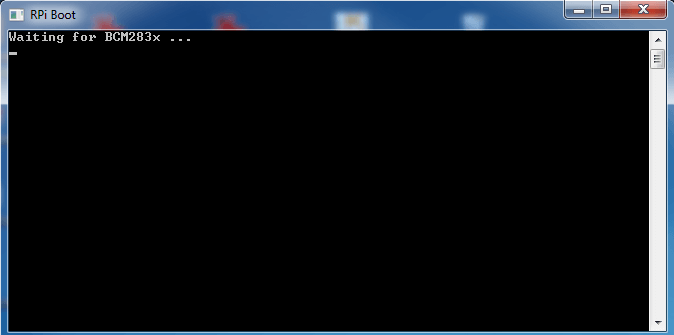
- Open RPi boot.
- Connect your RevPi Core with the power supply
RPi boot is now searching for your RevPi Core. The following window opens:
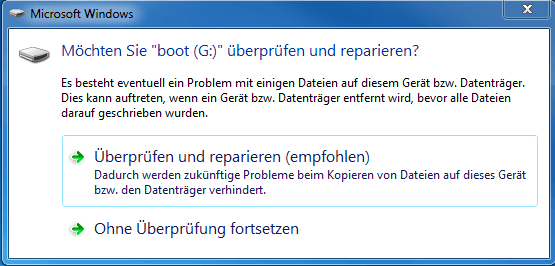
Your RevPi Core has been recognised.
- Click on „Continue without check“
In the next step we will first save the files to be found on the RevPi Core. You will perhaps need them again at some stage.
- Open Win32 Disk Imager.
The following window will open:
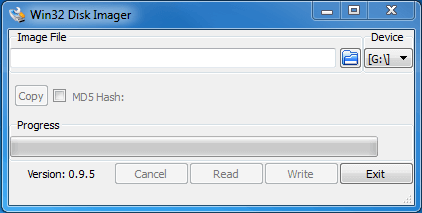
- Click on the File button.
- Select a file in which the image should be saved.
- Write in the file name at the end of the selection. The name has to end in “.img”.
- Select your ReviPi Core in the drop-down list. Shown will only be the drive letters for selection. If you no longer know what it was then look it up in Explorer. Your RevPi Core can be found under “Devices with Removable Media”. It will be shown as “boot”.

- Click on „Read“.
Your image will now be saved. The process may last a few minutes. You will receive confirmation when the file has been created.
Take care that the image you want to use is no bigger than 4 GB.
Requirement: You have an image on your PC. It can be for example a backup that has already been created on your RevPi Core. Other images can be obtained from raspberrypi.org here.
- Open Win32 Disk Imager.
- Select your ReviPi Core in the drop-down list. Shown will only be the drive letters for selection. If you no longer know which it was then look it up in Explorer. Your RevPi Core can be found under “Devices with Removable Media”. It will be shown as “boot.
Data may be destroyed if you mistakenly choose the wrong device.
- Click on the File button.
- Select your image file.
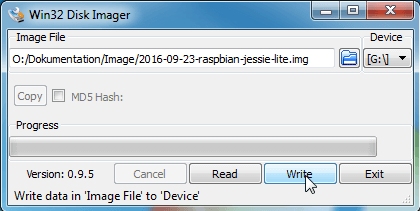
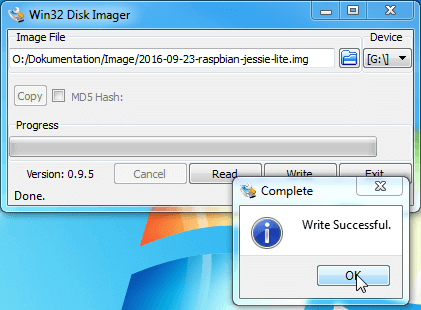
- Click on „Write“.
Your image will now be saved on RevPi Core. The process may last a few minutes. You will receive confirmation when the file has been successfully transferred: