In this tutorial we will show you how to create a CANopen network with CODYSYS and products from the RevPi family.
We use for it:
- RevPi Connect
- RevPi Con CAN
- Connect Bridge
- CODESYS Runtime (Please install it on your RevPi Connect)
- RevPi mGate CANopen
Put RevPi Con CAN into operation
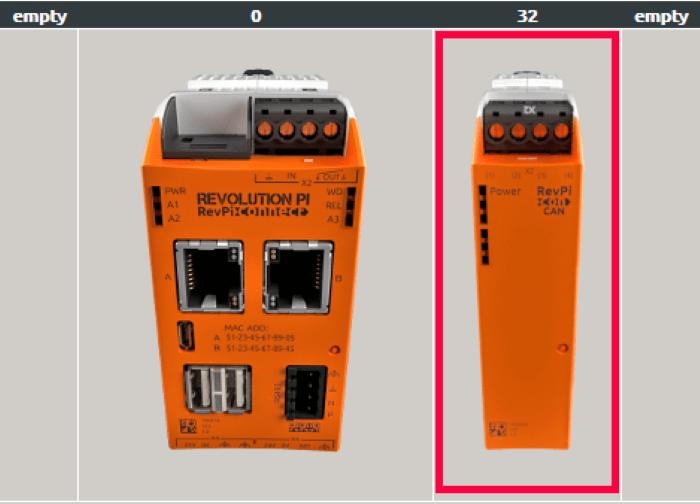
- Connect RevPi Connect and RevPi Con CAN using the Connect Bridge. Make sure that RevPi Con CAN is on the right side of the RevPi Connect.
- Connect RevPi Connect to the power supply.
- Open PiCtory.
- Assemble your devices on the Configuration Board
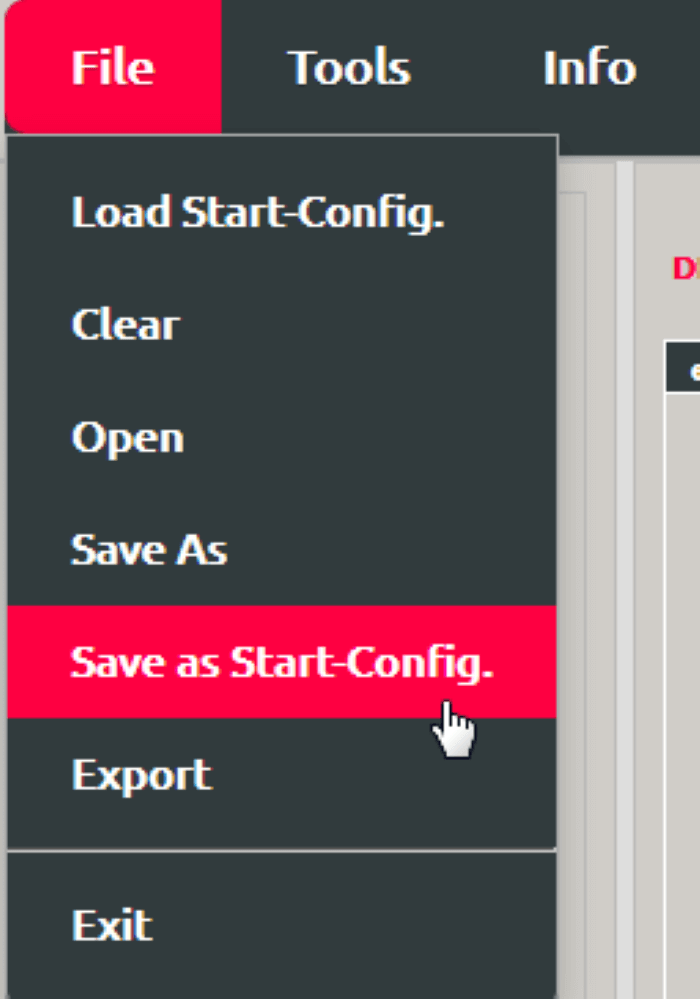
- Click on „File>Save as Start-Config“ to safe the project.
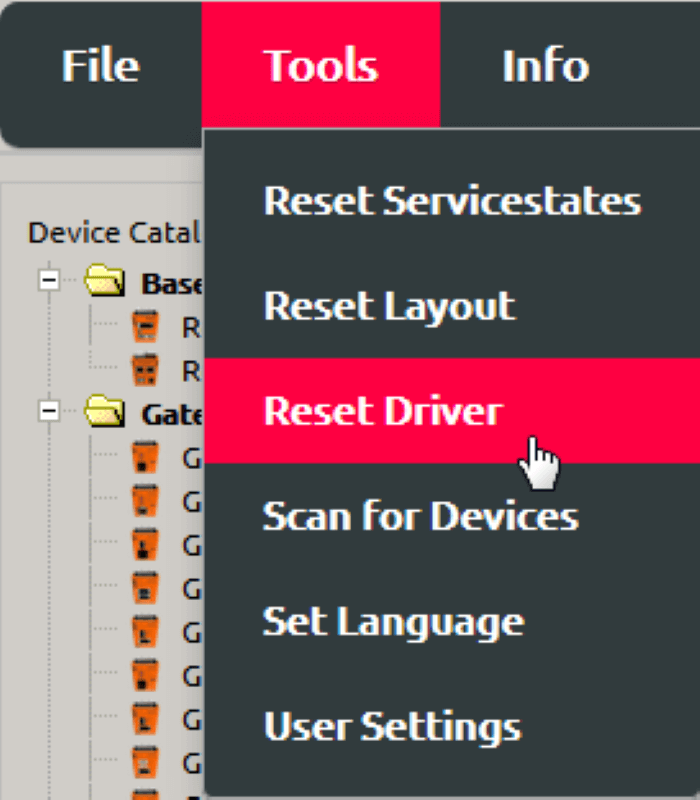
- Click on „Tools >Reset Driver“.
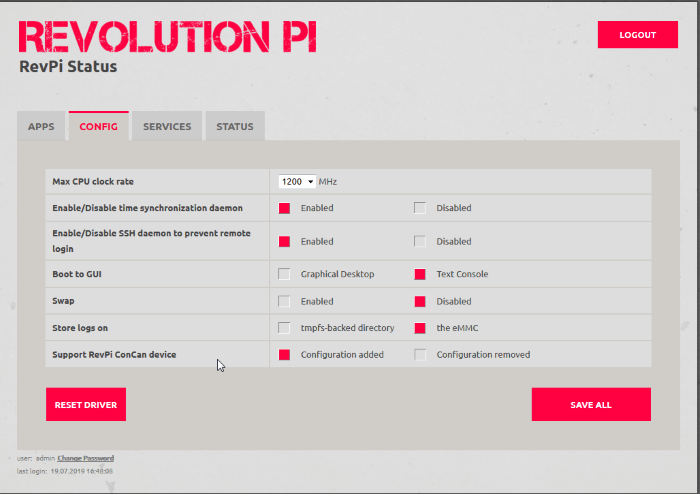
- In the web status you can check whether RevPi Con CAN has been successfully activated:
Creating a Script for CODESYS
In order for the communication between CODESYS and the RevPi devices to work, the bit rate must be configured. Therefore we create a script in this step and make it executable on your RevPi Connect.
- Open the RevPi terminal and login with your username and password.
- Enter the following command to create a new script:
sudo nano /var/opt/codesys/rts_set_baud.sh
- Add the following lines to the document:
#!/bin/sh
BITRATE=`expr $2 \\* 1000`
ifconfig $1 down
echo ip link set $1 type can bitrate $BITRATE
ip link set $1 type can bitrate $BITRATE
ifconfig $1 up
- Save the changes with Ctrl-O.
- Exit the editor with Ctrl-X.
- Type the following command in the command line to make the script executable:
sudo chmod +x /var/opt/codesys/rts_set_baud.sh
- Type the following command in the command line to restart RevPi Connect:
sudo reboot
Configuring the CANopen Master in CODDESYS
- Click with the right mouse button on your project in the project tree.
- Click on “Attach device”.
- Select “CODESYS Control for Raspberry Pi “.
- Click on “Add”.

- Click with the right mouse button on the added device (CODESYS Control for Raspberry Pi ).
- Click on “Attach device”.
- Select “CANbus”.
- Click on “Add”.

- Click with the right mouse button on the added device (CANbus).
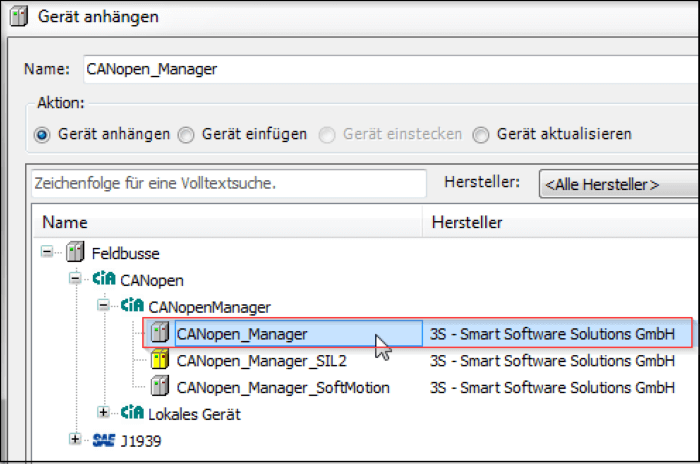
- Click on “Attach device”.
- Select “CANopen_Manager”.
- Click on “Add”.
- Click on your application.
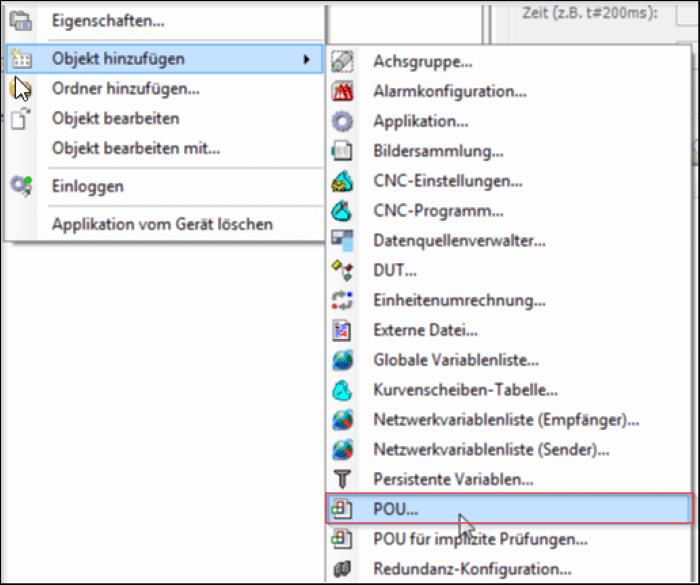
- Click on “Add object”.
- Insert the following objects this way:
-Task Configuration
-POU
- Add the call “POU” to the task configuration.

The project can now be “translated” and transferred to the RevPi. In the logged in state you can see if the CANopen Master is running:

Add KUNBUS CANopen mGate into CODESYS
- Download the device description file (EDS) for the mGate CANopen from the KUNBUS homepage.
- Click on “Tools”.
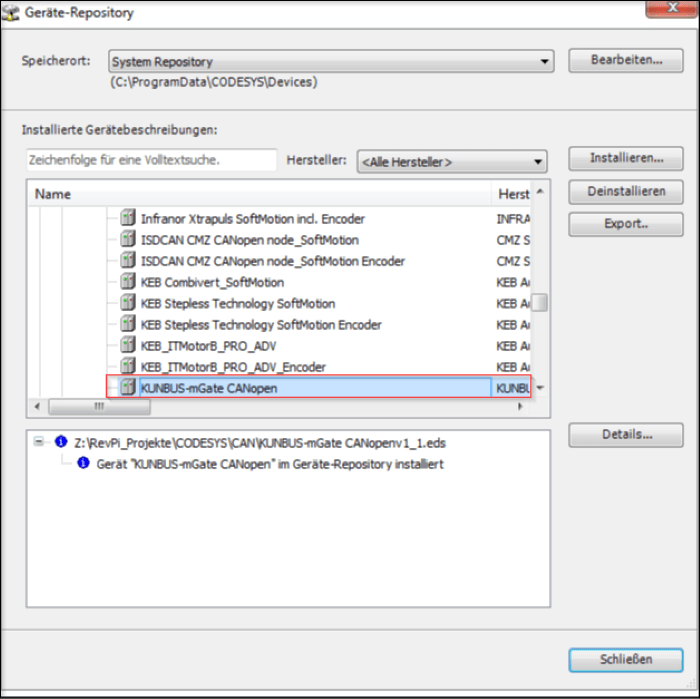
- Click on “Device Repository”.

- Select “KUNBUS-mGate CANopen”.
- Click on “Install”.
- Click with the right mouse button on the CANopen_Manager.
- Click on “Attach device”.
- Select the “KUNBUS-mGate CANopen “.
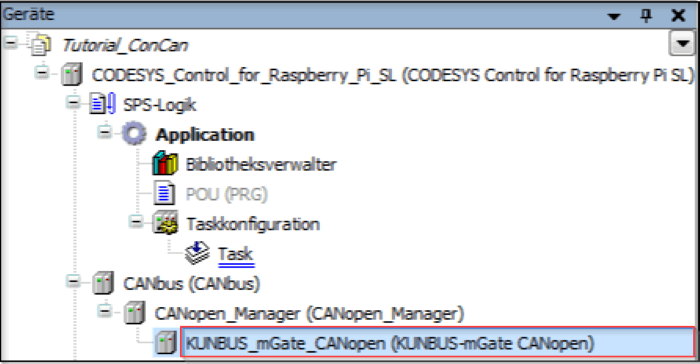
- Set the node ID and the bit rate of the gateway at the rotary coding switches of the device.
The project can now be translated and transferred to the RevPi Connect. When logged in, you can see whether the gateway is recognized by the master:
